The Ultimate Guide to Refinishing Hardwood Floors
Refinishing hardwood floors
The Ultimate Guide to Refinishing Hardwood Floors
Refinishing hardwood floors is a transformative process that can breathe new life into your home. Whether your floors have dulled over time or sustained scratches and dents, refinishing can restore their original beauty and charm. This comprehensive guide will walk you through everything you need to know about refinishing hardwood floors, from preparation to the final finish.
Why Refinish Hardwood Floors?
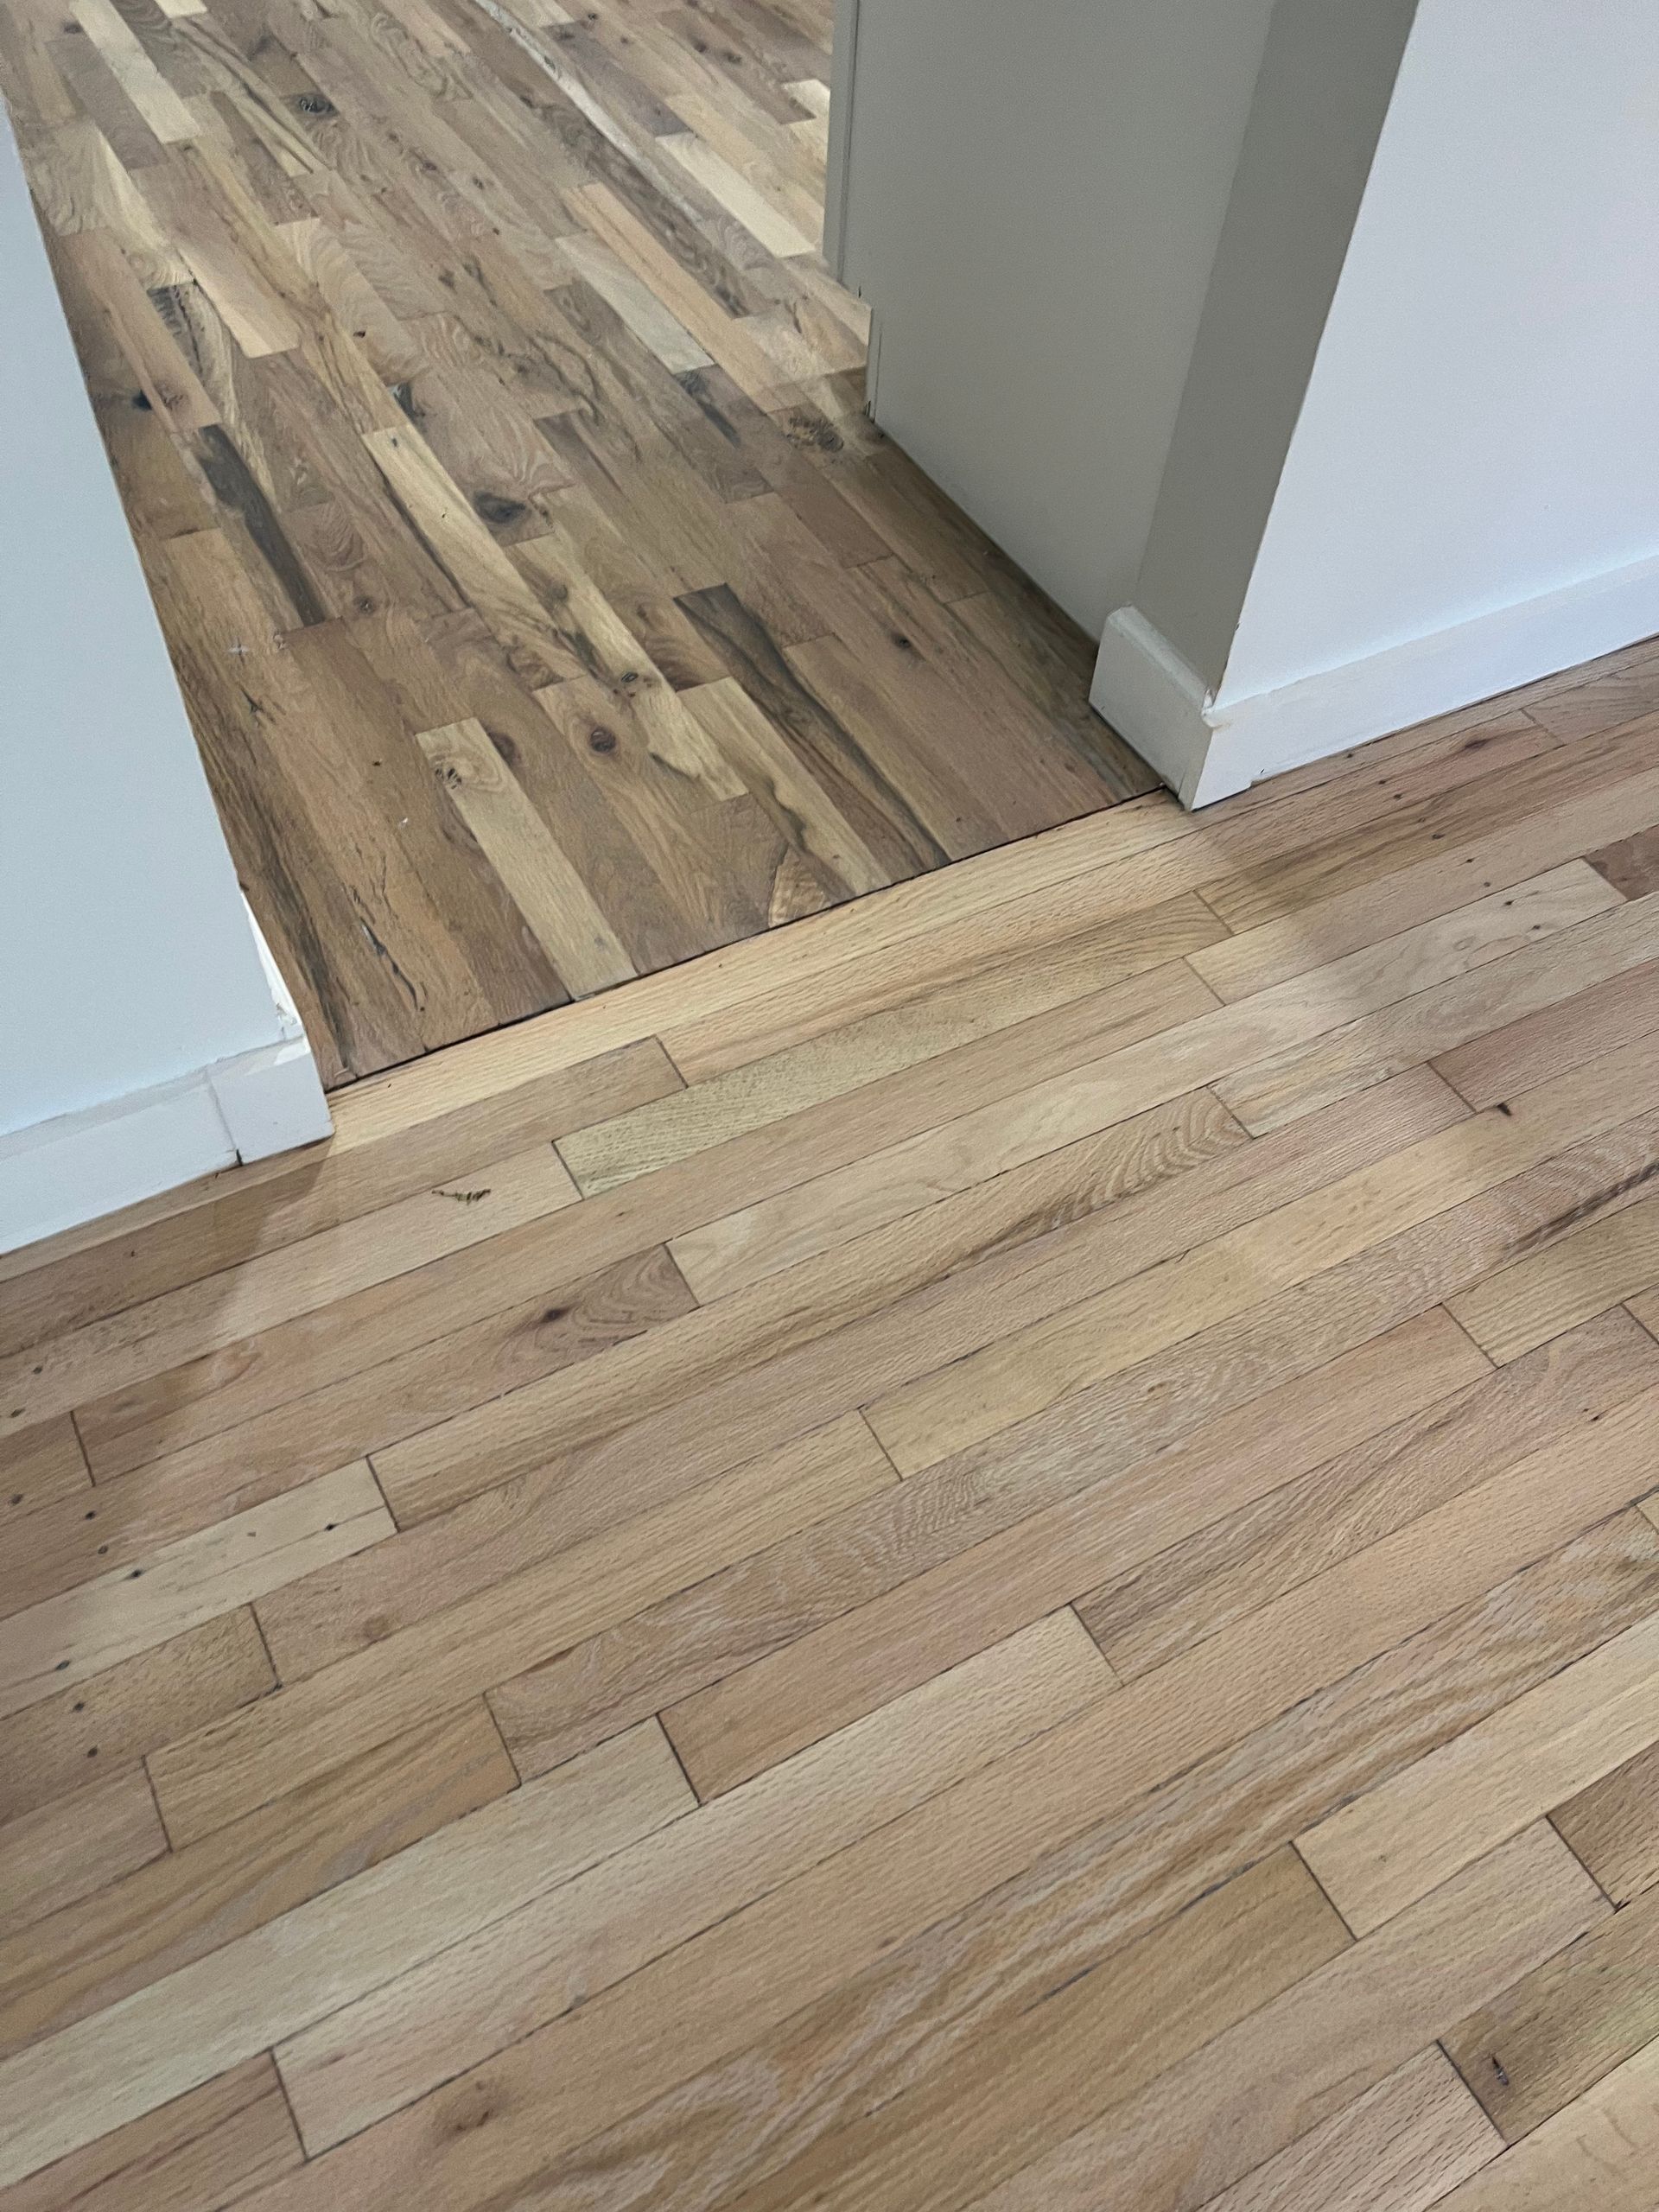
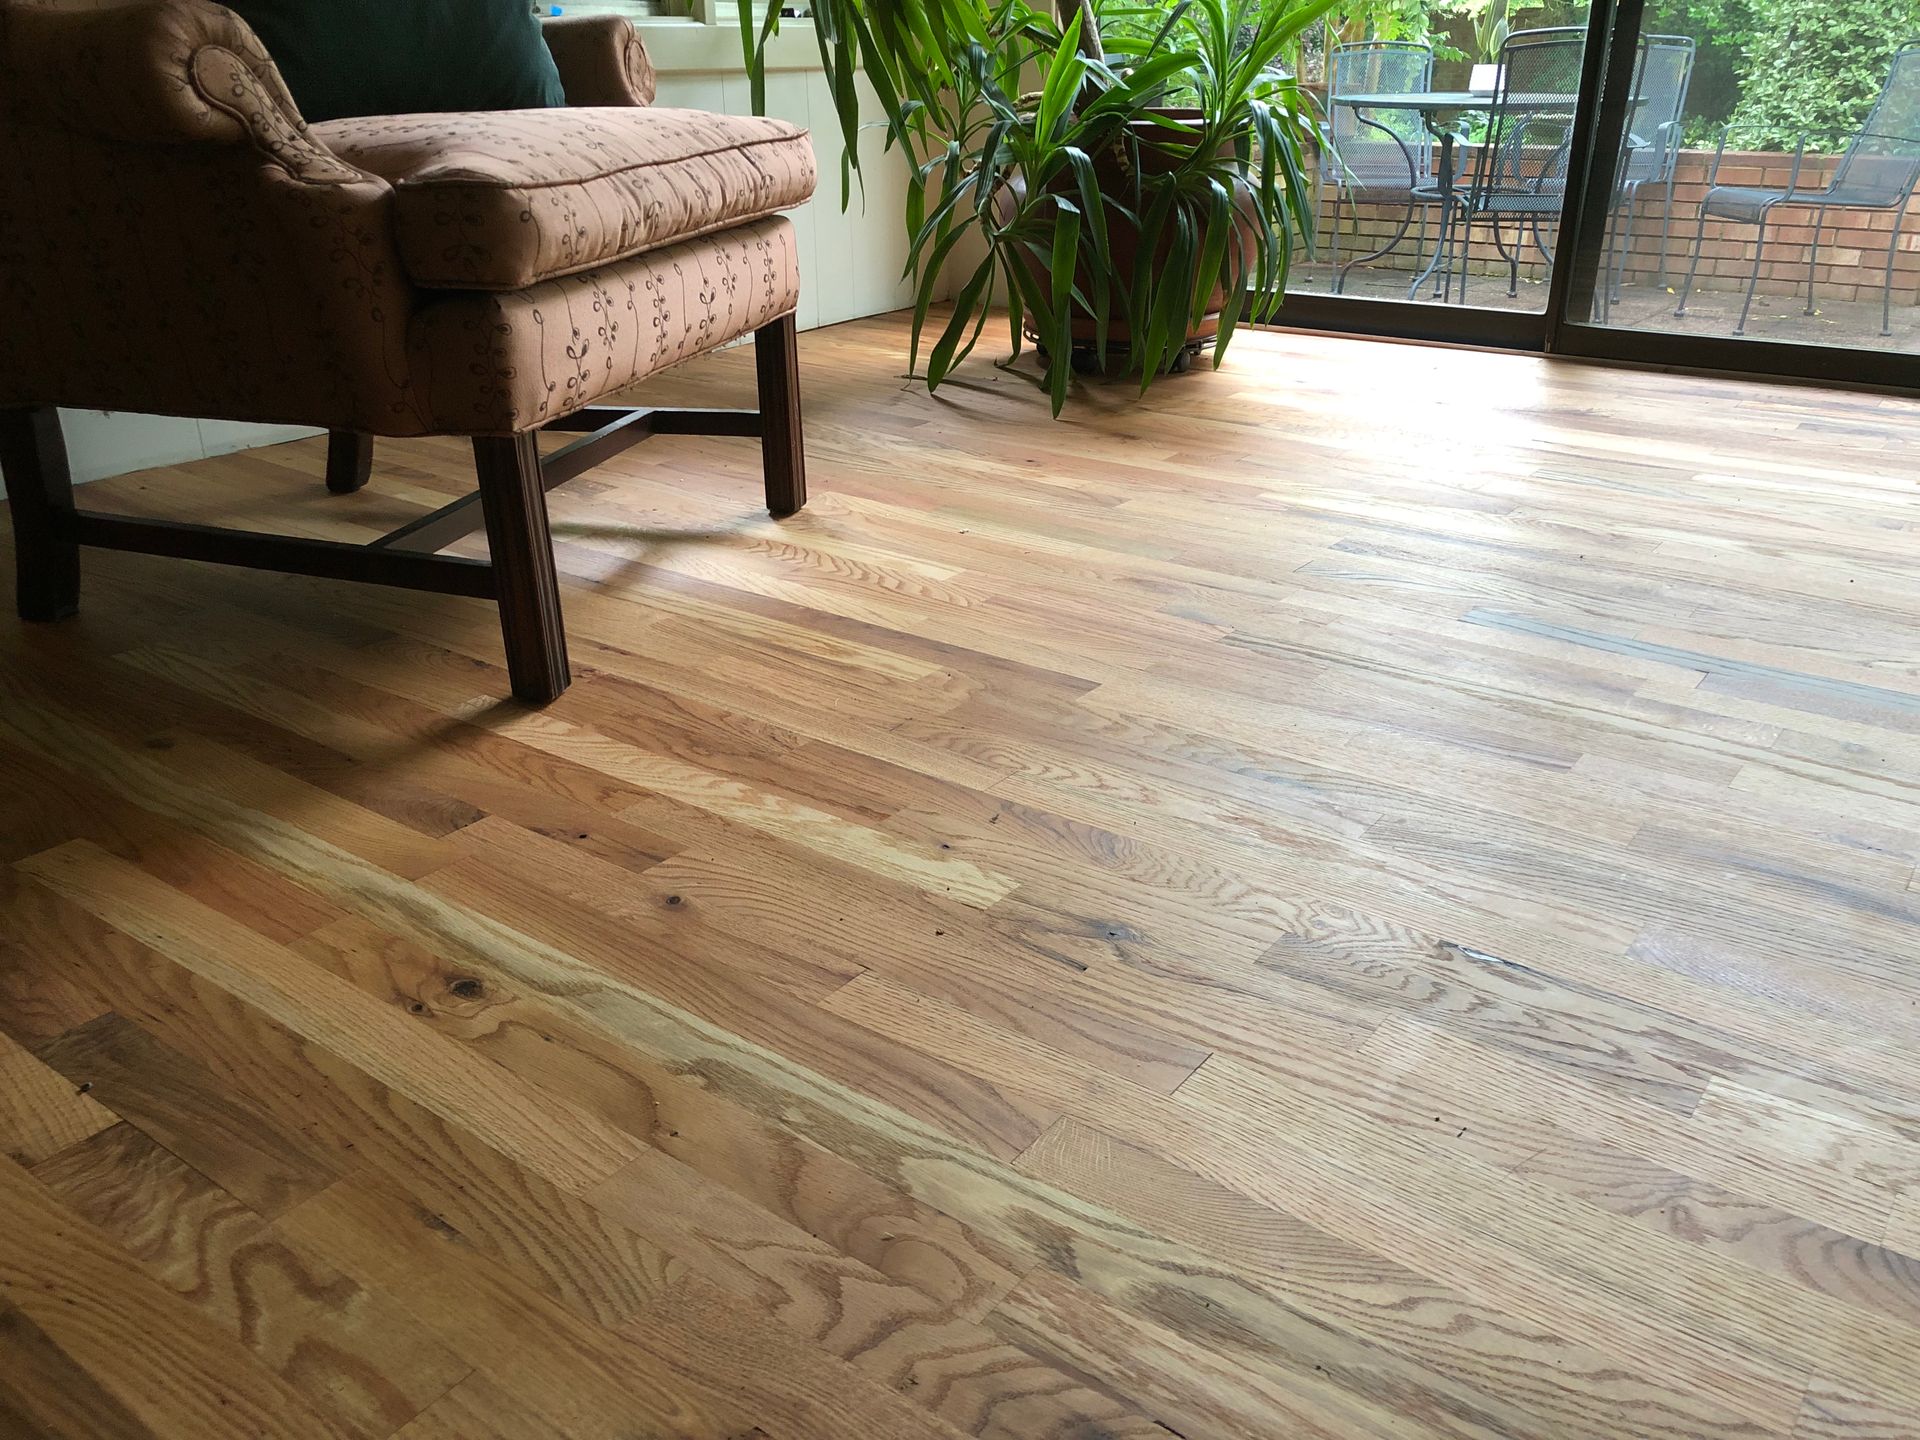
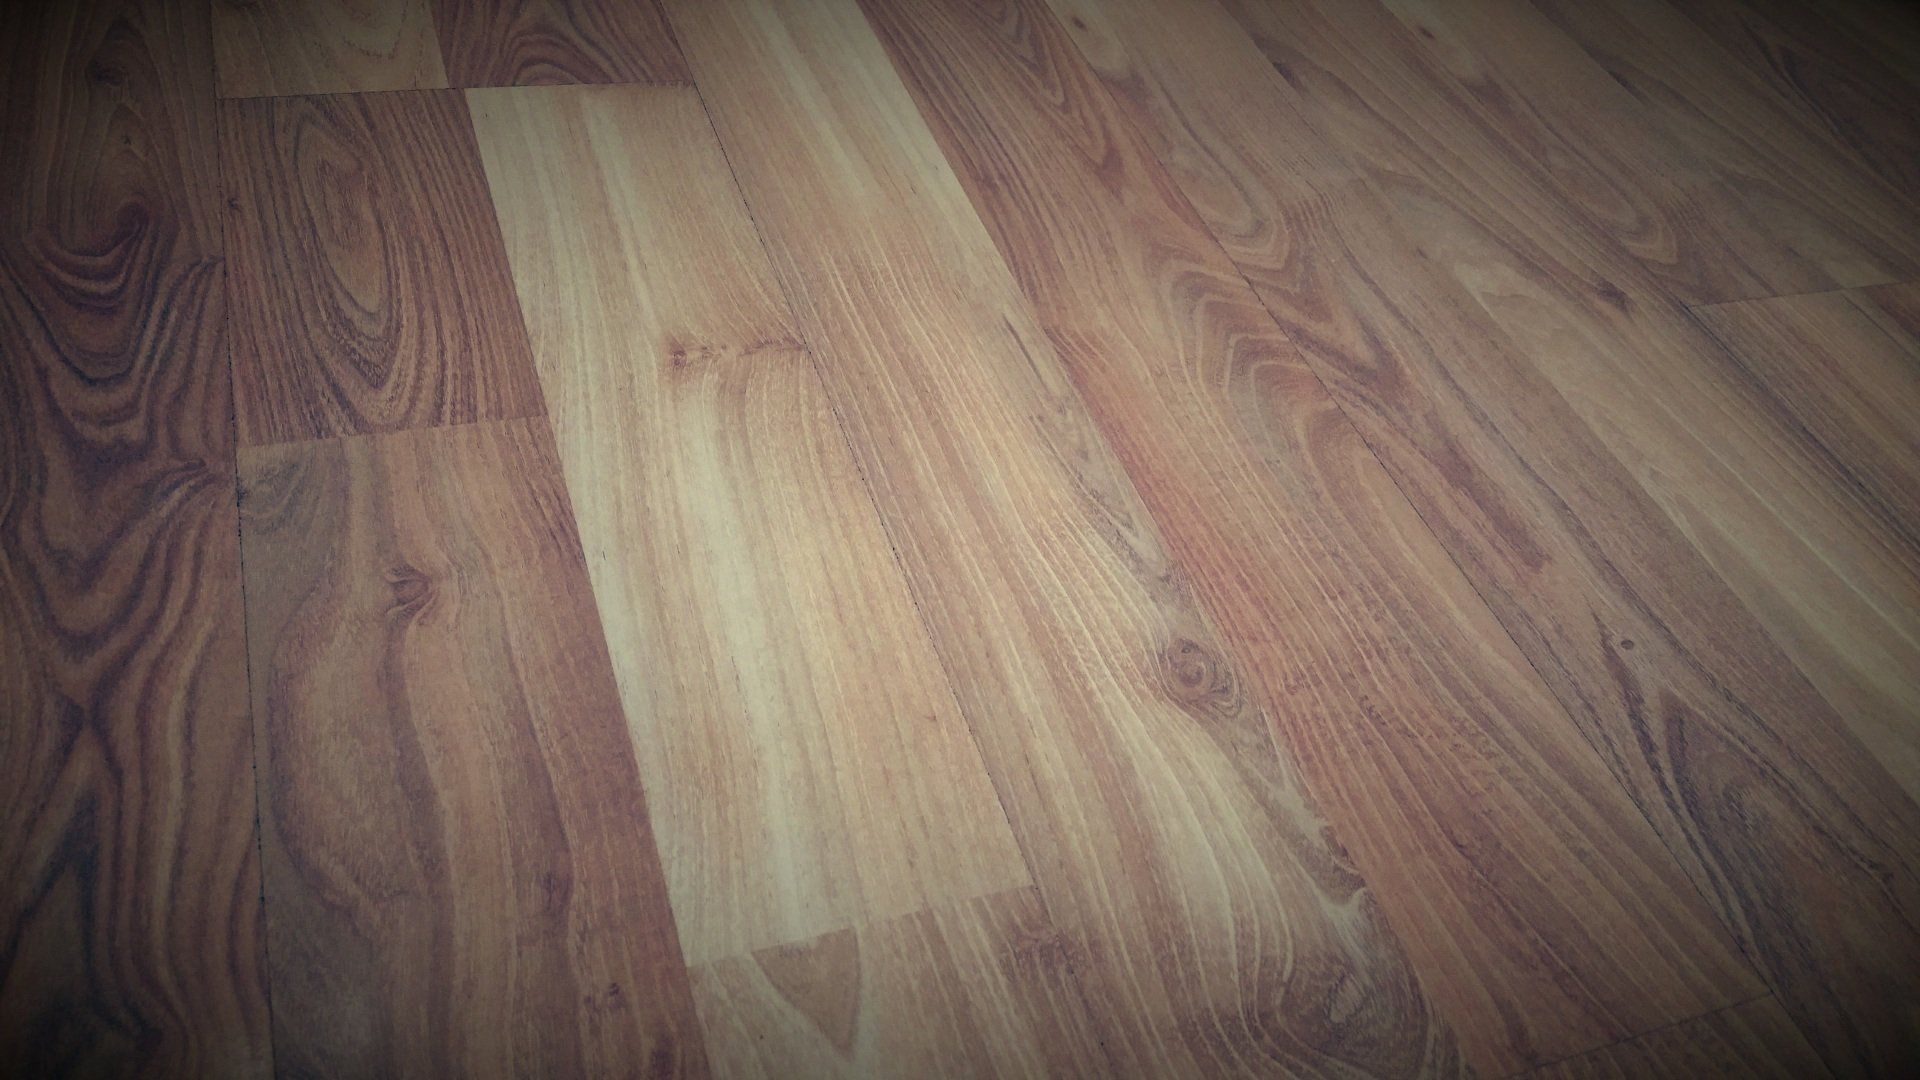
Hardwood floors are an investment in your home, valued for their durability, natural beauty, and timeless appeal. Over time, however, even the toughest hardwood can show signs of wear. Here are some common reasons to refinish your hardwood floors:
- Scratches and Scuffs: Everyday use can leave visible marks, especially in high-traffic areas.
- Fading: Sunlight exposure can dull the wood’s color.
- Water Damage: Spills and humidity can cause staining or warping.
- Changing Style: A new stain or finish can update your floors to match modern design trends.
Step-by-Step Guide to Refinishing Hardwood Floors
1. Assess Your Hardwood Floors
Before diving into refinishing, evaluate the condition of your floors to determine the necessary steps. Here’s what to check:
- Thickness: Ensure your floors are thick enough to sand down. Solid hardwood floors can typically be sanded multiple times, while engineered wood has a limited sanding allowance.
- Damage: Identify deep scratches, stains, or warped boards that may need extra attention or replacement.
- Finish Type: Test your current finish with a drop of water. If it beads up, your floor has a sealed finish. If it absorbs, your floor may need deeper refinishing.
2. Gather Tools and Materials
Refinishing hardwood floors requires the right tools and materials. You’ll need:
- Drum sander and edge sander
- Sandpaper (coarse, medium, and fine grits)
- Shop vacuum and tack cloths
- Wood filler (if needed)
- Stain and/or finish (oil-based or water-based options)
- Applicators (brush, roller, or pad)
- Safety gear (dust mask, goggles, and ear protection)
3. Prepare the Area
Proper preparation ensures a smooth refinishing process:
- Remove Furniture: Clear all furniture, rugs, and decor from the room.
- Seal Off the Area: Use plastic sheeting to block doorways and vents to contain dust.
- Clean Thoroughly: Sweep and vacuum the floor to remove debris.
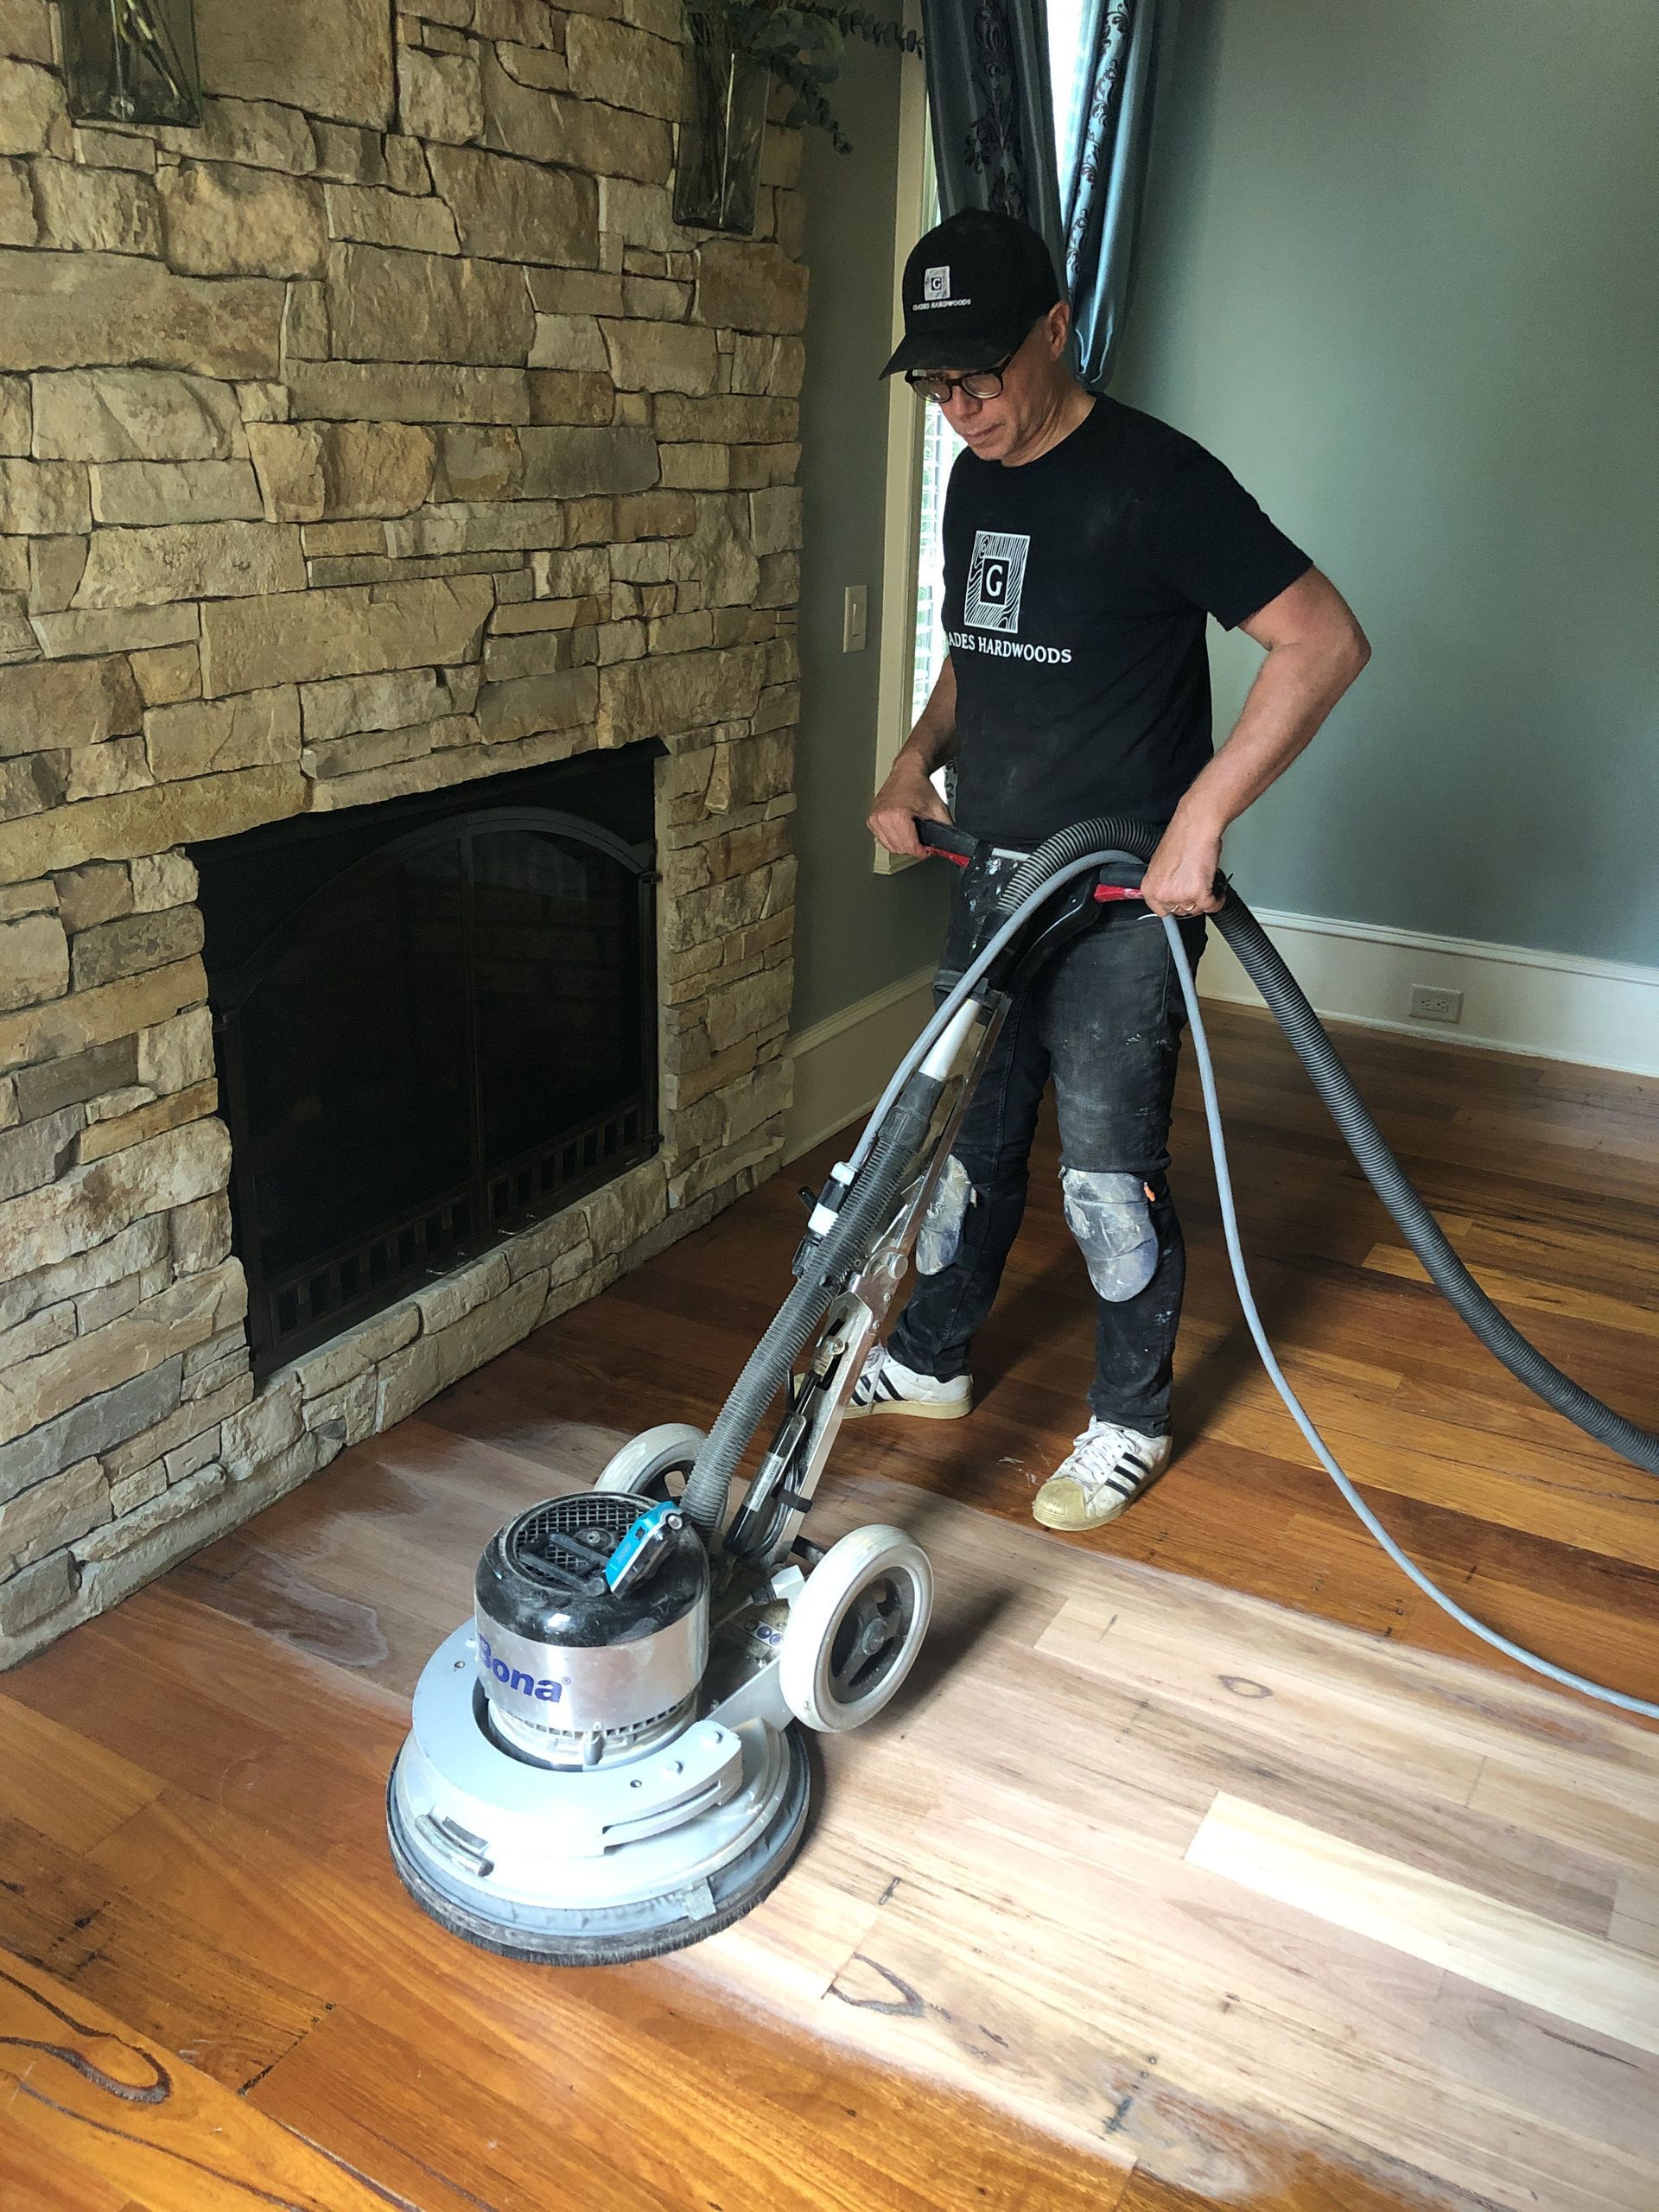
4. Sand the Floors
Sanding removes the old finish and levels the surface for staining. Follow these steps:
- Start with a coarse-grit sandpaper (36-40 grit) to remove the old finish.
- Progress to medium-grit (60-80 grit) to smooth the surface.
- Finish with fine-grit (100-120 grit) for a polished base.
- Use an edge sander for corners and edges.
Pro Tip: Sand in the direction of the wood grain to avoid scratches.
5. Clean Up Dust
After sanding, thoroughly clean the floor to remove all dust:
- Vacuum the floor with a shop vacuum.
- Wipe down with tack cloths to capture fine particles.
6. Apply Wood Filler (Optional)
If your floor has cracks or gaps, fill them with a wood filler that matches your floor’s color. Let it dry completely before proceeding.
7. Stain the Floor (Optional)
Staining is optional but can dramatically change the appearance of your hardwood floors:
- Test the stain on a small area to ensure satisfaction.
- Apply evenly using a brush or applicator pad.
- Wipe off excess stain with a clean cloth.
- Allow the stain to dry completely according to the manufacturer’s instructions.
8. Apply the Finish
The finish protects your hardwood floors and enhances their beauty. Choose between oil-based or water-based finishes based on your preferences:
- Oil-Based Finishes: Durable with a warm glow, but longer drying time and stronger odors.
- Water-Based Finishes: Quick drying and low odor, with a clear finish that maintains the wood’s natural color.
Steps to apply:
- Stir the finish thoroughly before use.
- Apply with a brush, roller, or pad in thin, even coats.
- Allow each coat to dry completely before applying the next (typically 2-3 coats).
- Lightly sand between coats with fine-grit sandpaper (220 grit) for a smooth finish.
9. Allow the Finish to Cure
After the final coat, allow the finish to cure for the recommended time before replacing furniture or walking on the floor. This can take anywhere from a few days to a week, depending on the finish type.
Tips for a Successful Refinishing Project
- Plan for Time: Refinishing is a multi-day project. Account for sanding, drying, and curing times.
- Ventilation: Ensure good airflow to reduce odors and speed up drying.
- Test Products: Always test stains and finishes on a small area first.
- Safety First: Wear protective gear and follow manufacturer’s safety guidelines.
- 5Hire Professionals if Needed: If you’re unsure about tackling the project yourself, consider hiring a professional for flawless results.
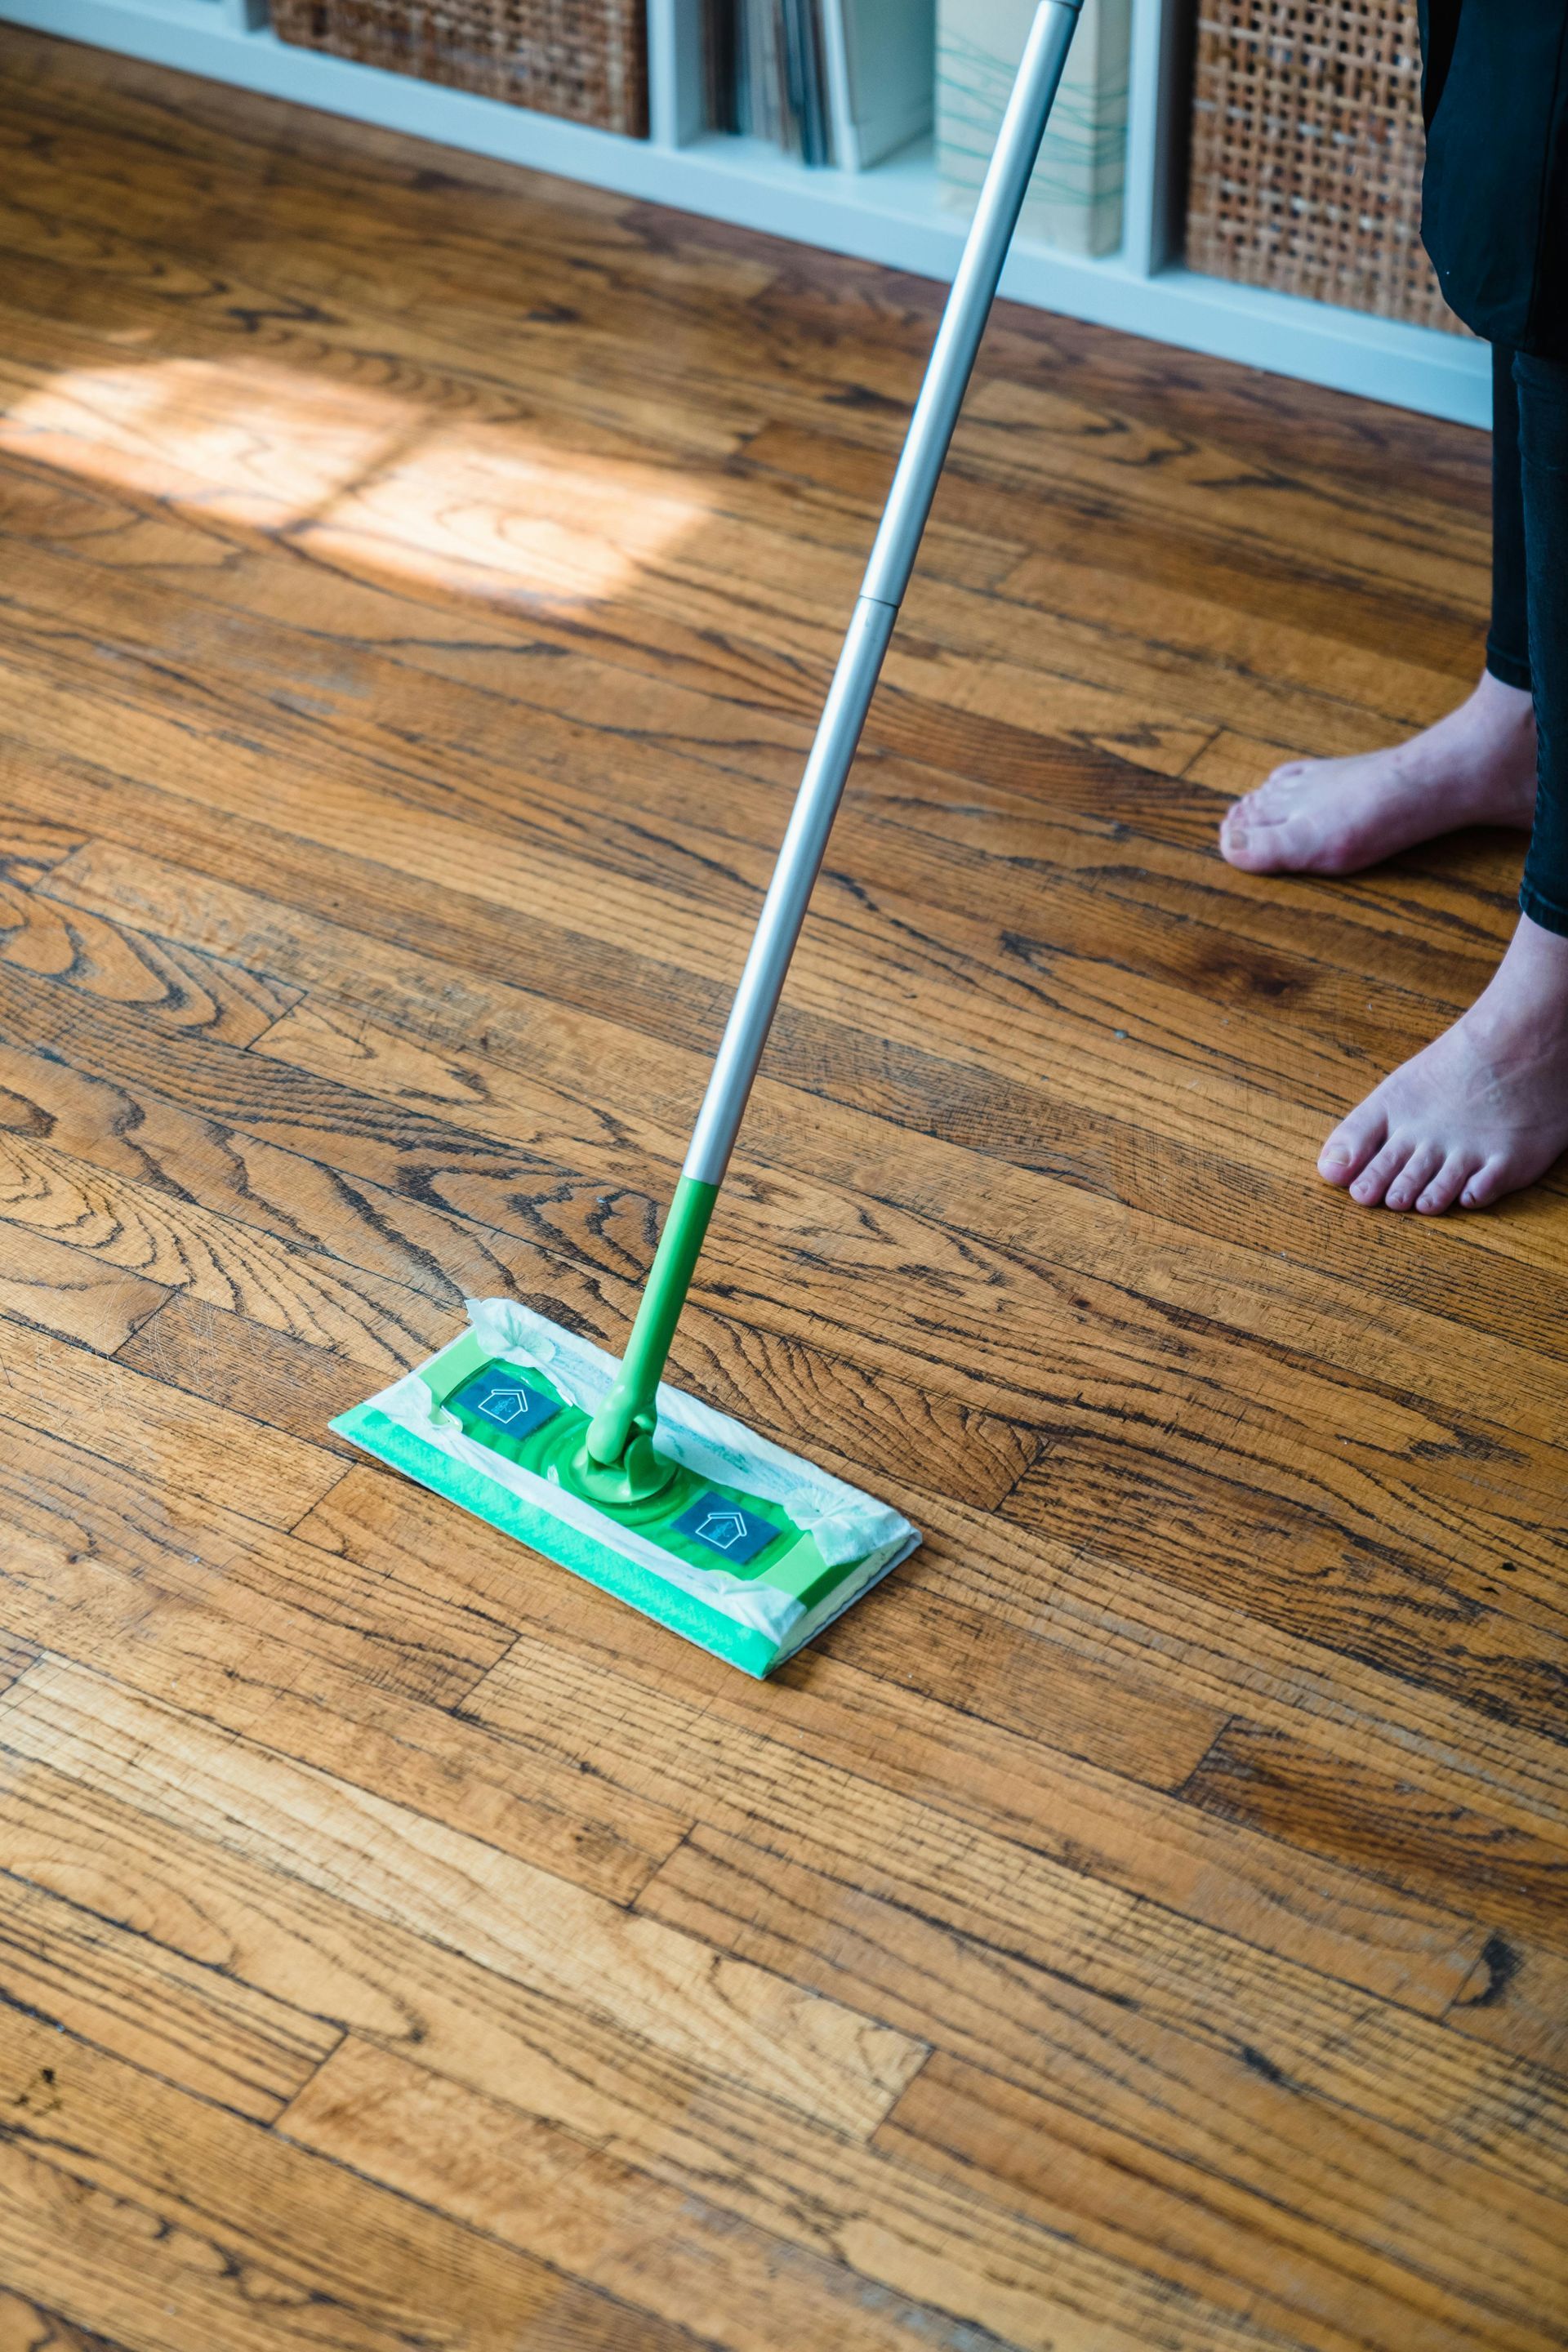
Maintaining Refinished Hardwood Floors
To keep your refinished hardwood floors looking their best:
- Regular Cleaning: Sweep and vacuum regularly to prevent scratches from dirt and debris.
- Use Rugs and Pads: Place rugs in high-traffic areas and felt pads under furniture.
- Avoid Excess Water: Use a damp mop with a hardwood-friendly cleaner and avoid soaking the floor.
- Control Humidity: Maintain a stable indoor humidity level to prevent warping.
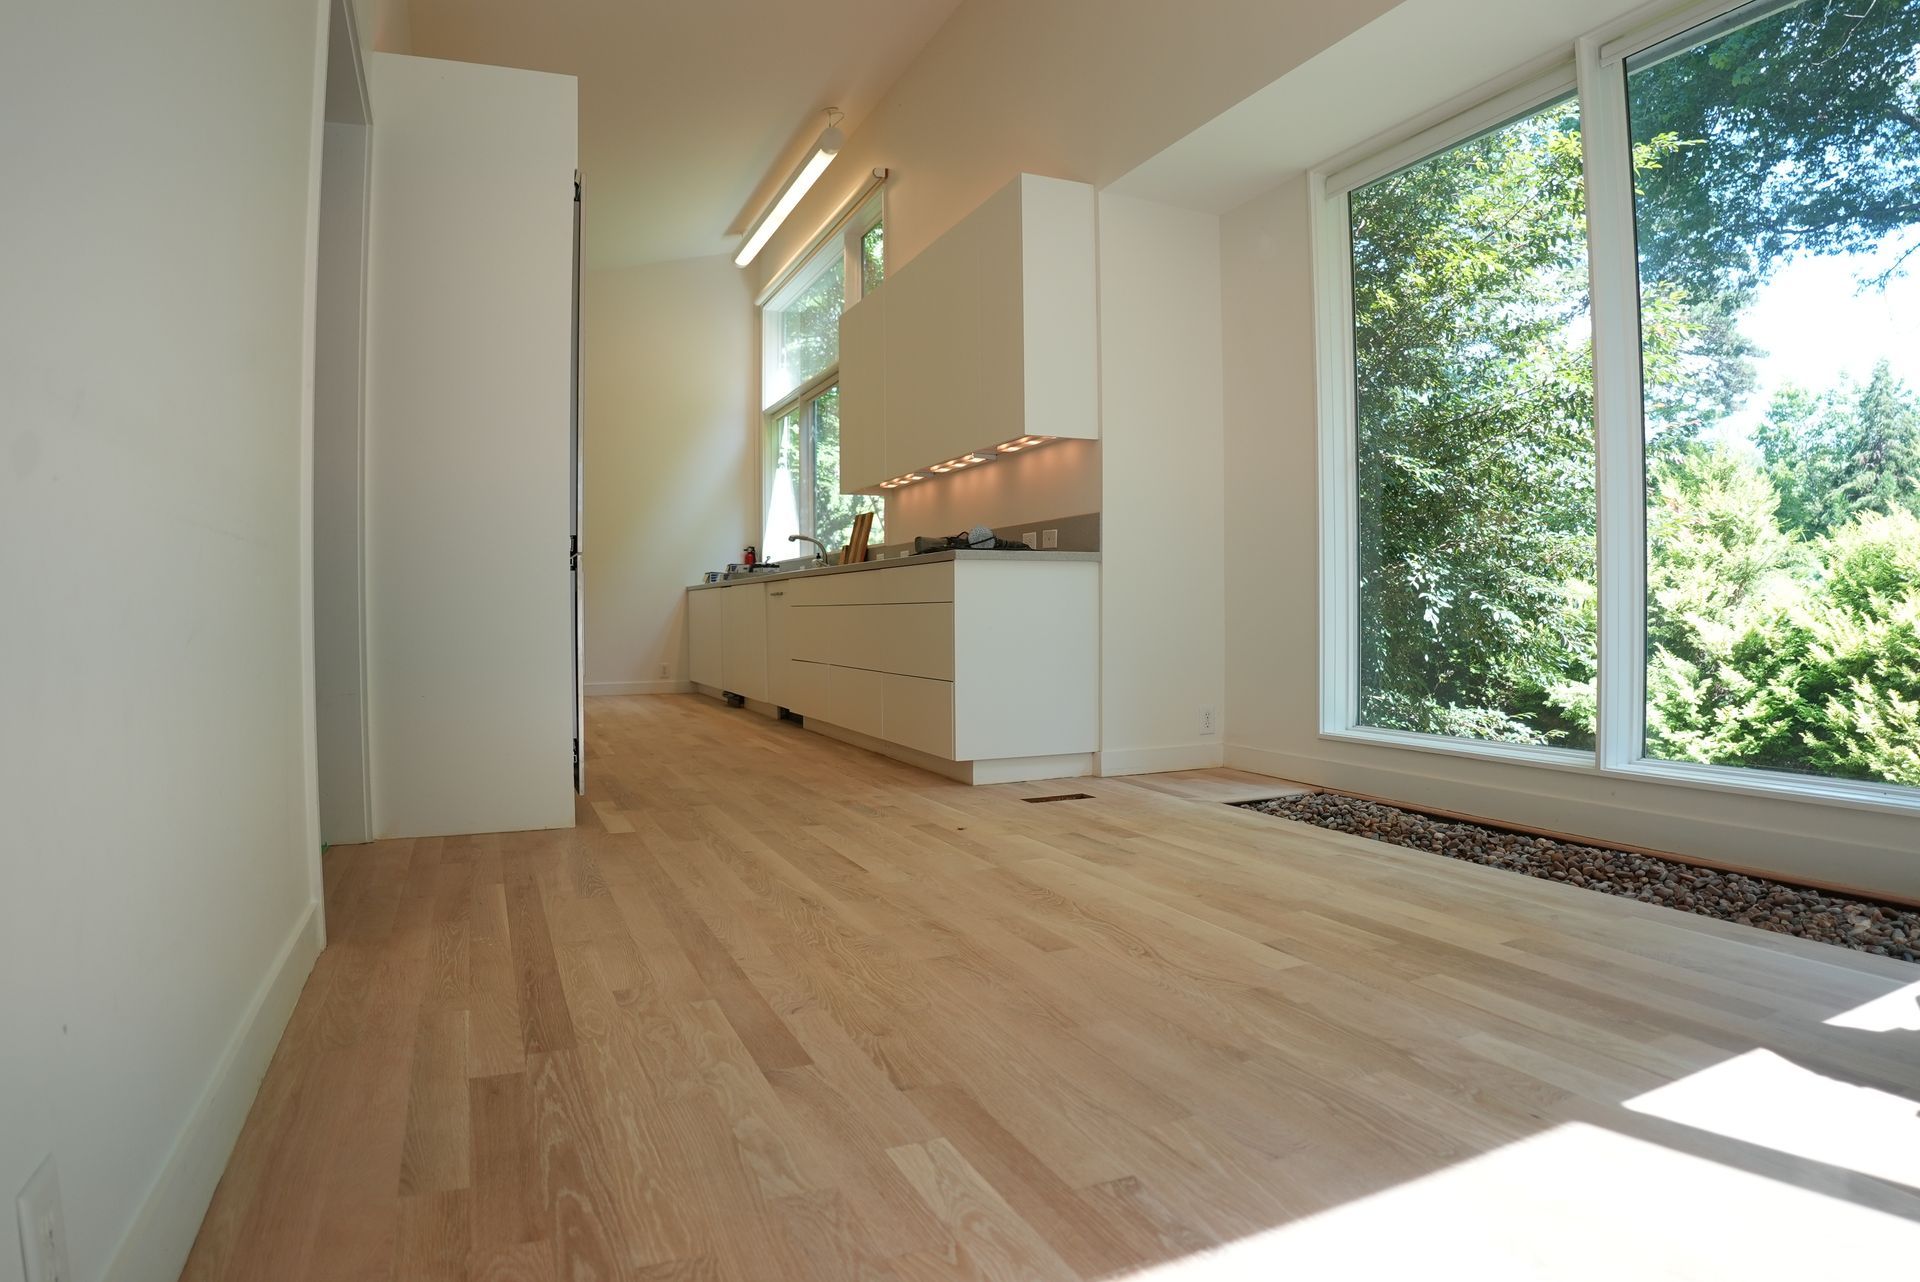
Refinishing hardwood floors is a rewarding project that can enhance the beauty and value of your home. With careful preparation, the right tools, and attention to detail, you can achieve stunning results that last for years to come. Whether you choose to DIY or hire professionals, refinishing is an excellent way to preserve the timeless appeal of hardwood floors.